Secure your WordPress site by disabling file editing, enforcing strict file permissions, removing unused plugins, and configuring server headers. Verify each change by attempting to access restricted files or functions. Regularly audit your configuration to maintain security against evolving threats and known weakness categories.
Preparing for WordPress Hardening
Before modifying your site, you must understand the current state of your environment. A hardening process involves changing how the server handles requests and how the application manages files. If you make changes without a backup, a single error can render your site inaccessible. You need a full backup of the database and the file system. This includes configuration files, uploaded media, and plugin data.
Imagine you disable a critical plugin to reduce risk, but that plugin handles authentication for your staff. Without a rollback plan, you lock out your team. Create a staging environment that mirrors your production site. Test every change there first. This isolates potential failures from affecting live users. Document the default settings before you change them. This record helps you identify what was modified if unexpected behaviour occurs later.
Check your current file permissions. Many shared hosting providers set overly permissive defaults to allow easy installation of plugins. These defaults often allow any user on the server to read or write your files. Identify which files are executable. You should only allow the web server process to execute PHP files. Other file types, such as images or documents, should never have execute permissions.
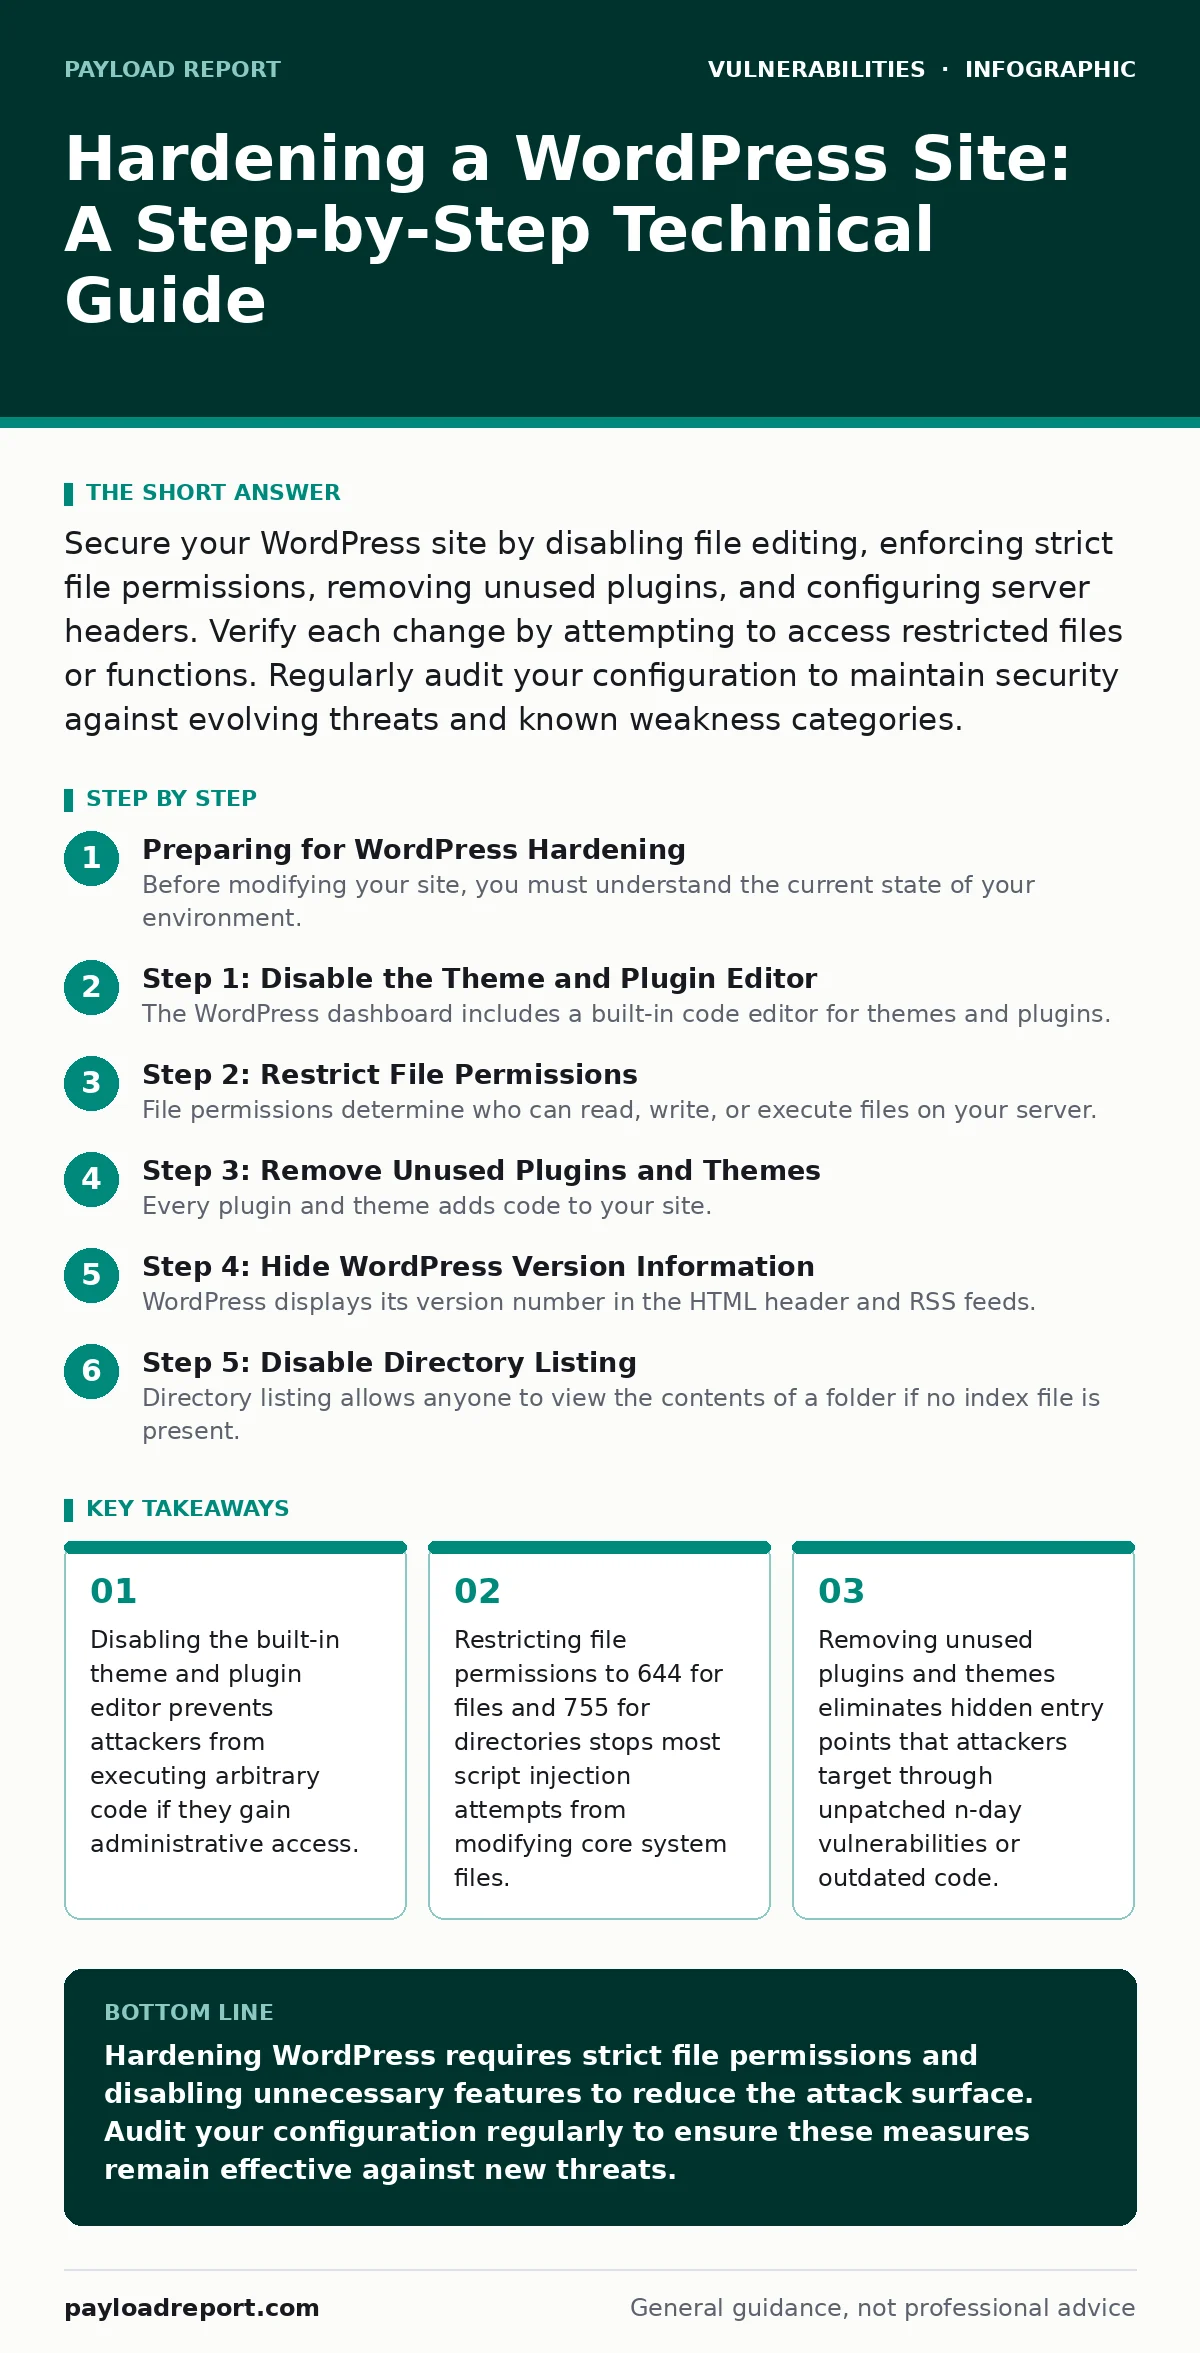
Step 1: Disable the Theme and Plugin Editor
The WordPress dashboard includes a built-in code editor for themes and plugins. This feature allows administrators to modify PHP files directly from the browser. If an attacker compromises an administrator account, they can use this editor to upload malicious code. This bypasses file permission restrictions because the web server writes the file, not the attacker directly.
Add the following constant to your wp-config.php file. This file controls core WordPress settings. Insert the line define( 'DISALLOW_FILE_EDIT', true ); near the top of the file. This disables the editor interface entirely. Administrators will no longer see the "Theme File Editor" or "Plugin File Editor" options in the dashboard.
To verify this worked, log in as an administrator. Navigate to Appearance and then Theme File Editor. The option should be missing. If you still see it, the constant was not added correctly or the file is not being read. You can also check the database for any unexpected PHP code in post content or comments, though the editor itself is now closed.
Step 2: Restrict File Permissions
File permissions determine who can read, write, or execute files on your server. Incorrect permissions are a common cause of successful attacks. Attackers exploit weak permissions to modify core files or upload web shells. You must set strict permissions for all WordPress files and directories.
Set all files to permission 644. This allows the owner to read and write, but only allows the group and others to read. Set all directories to permission 755. This allows the owner to read, write, and execute, but restricts group and others to read and execute only. The wp-config.php file should be set to 600. This ensures only the owner can read or write it, hiding your database credentials from other users on shared hosting.
Use an FTP client or command line interface to change these permissions. Most clients allow you to apply permissions recursively. Be careful when applying changes to the entire directory. Some server software requires specific permissions for certain folders. After changing permissions, try to upload a new image. If the upload fails, the permissions are too restrictive. Adjust only the affected directory until the upload succeeds.
Step 3: Remove Unused Plugins and Themes
Every plugin and theme adds code to your site. Unused code is dead weight that poses a security risk. Attackers scan for known vulnerabilities in popular plugins. Even if you do not use a plugin, if it is installed, it remains a potential entry point. This is often referred to as expanding your attack surface.
Deactivate and delete all plugins you do not actively use. Do not just deactivate them. Deactivated plugins still contain code that can be exploited if a vulnerability exists in their code structure. Delete the same for themes. Keep only the active theme and one fallback theme. The fallback theme should be a standard, well-maintained theme from the official repository.
Check for orphaned files. Sometimes deleting a plugin leaves behind folders in the wp-content/plugins directory. Manually delete these empty folders. Verify that no unexpected files remain. You can also check your database for tables created by deleted plugins. These tables may contain sensitive data or provide hooks for future attacks. Remove them if you are certain they are no longer needed.
Step 4: Hide WordPress Version Information
WordPress displays its version number in the HTML header and RSS feeds. This information helps attackers identify if your version contains known vulnerabilities. They can then use automated tools to exploit specific weaknesses in that version. Hiding this information makes automated scanning less effective.
Remove the version number from the HTML meta tag. Add a filter to your theme's functions.php file. Use remove_action( 'wp_head', 'wp_generator' ); to stop the version from appearing in the header. Also, remove it from RSS feeds by adding add_filter( 'the_generator', '__return_empty_string' );.
Verify this by viewing the page source of your homepage. Search for the generator meta tag. It should be absent. Also, check your RSS feed URL. The version number should not appear in the XML header. This does not prevent a determined attacker from finding your version, but it raises the effort required.
Step 5: Disable Directory Listing
Directory listing allows anyone to view the contents of a folder if no index file is present. This can expose configuration files, backup files, or private images. Attackers use this information to map your site structure and find sensitive files.
Ensure your web server is configured to disable directory listing. For Apache, add Options -Indexes to your .htaccess file. For Nginx, ensure autoindex is set to off in your server block. This prevents the server from generating a list of files when a user requests a directory without an index file.
Test this by creating an empty folder in your root directory. Try to access it via your browser. You should receive a 403 Forbidden error or a 404 Not Found error. If you see a list of files, the configuration did not take effect. Check your server error logs for clues.
Step 6: Enforce Strong Authentication
Weak password policies are a primary vector for account takeover. Attackers use brute-force attacks to guess passwords. They also use credential stuffing, where they try usernames and passwords stolen from other breaches. You must enforce strong passwords and limit login attempts.
Use a plugin or server-side configuration to enforce password complexity. Require a minimum length of 12 characters. Include uppercase, lowercase, numbers, and symbols. Disable XML-RPC if you do not use it. This API endpoint is often targeted by brute-force attacks. Add deny all; to your server configuration for the xmlrpc.php file.
Enable two-factor authentication for all administrator accounts. This adds a second layer of verification. Even if an attacker guesses the password, they cannot log in without the second factor. Verify this by attempting to log in with only the password. The system should prompt for the second factor.
Verification Checklist
After implementing these steps, you must verify that your site is secure. Use the following checklist to confirm each measure is active.
- The theme and plugin editor is disabled in the dashboard.
- File permissions are set to 644 for files and 755 for directories.
- The
wp-config.phpfile has permission 600. - All unused plugins and themes are deleted, including orphaned files.
- WordPress version information is hidden from headers and feeds.
- Directory listing is disabled and returns a 403 or 404 error.
- XML-RPC is disabled or restricted.
- Two-factor authentication is enabled for all admin accounts.
Upkeep and Maintenance
Hardening is not a one-time task. You must maintain your configuration. New vulnerabilities are discovered regularly. You must keep WordPress core, plugins, and themes updated. Monitor security advisories for any software you use.
Regularly review your user accounts. Remove any accounts that are no longer needed. Check for suspicious login activity. Review your server logs for unusual requests. Look for repeated 404 errors or attempts to access admin pages. These may indicate scanning or brute-force attempts.
Imagine you update a plugin and your site breaks. You must have a process to revert the change. Keep your backups current. Test your backup restoration process periodically. Ensure you can recover your site within a reasonable time frame. This reduces the impact of any successful attack or configuration error.
Key takeaways
- Disabling the built-in theme and plugin editor prevents attackers from executing arbitrary code if they gain administrative access.
- Restricting file permissions to 644 for files and 755 for directories stops most script injection attempts from modifying core system files.
- Removing unused plugins and themes eliminates hidden entry points that attackers target through unpatched n-day vulnerabilities or outdated code.
Hardening WordPress requires strict file permissions and disabling unnecessary features to reduce the attack surface. Audit your configuration regularly to ensure these measures remain effective against new threats.
Frequently asked questions
Does hardening WordPress affect site performance?
Minimal impact is expected. Disabling features and restricting permissions may slightly increase server load during initial configuration, but long-term performance often improves due to reduced attack attempts and cleaner code.
Can I harden WordPress without technical knowledge?
Basic hardening steps like updating software and using strong passwords are accessible. Advanced steps like file permission changes and server configuration require technical expertise or a developer.
How do I know if my site has been compromised?
Look for unknown admin accounts, unexpected changes to core files, or unfamiliar code in plugins. Regular audits and monitoring tools help detect these signs early.
Is disabling XML-RPC safe?
Yes, if you do not use third-party apps or Jetpack. XML-RPC is often used for remote publishing, but most modern sites use the REST API instead. Disabling it reduces the attack surface.
How this guide was produced: written by the Payload Report editorial team with AI assistance, checked against the public references listed below, and reviewed when the facts change. See our editorial policy or report an error.